
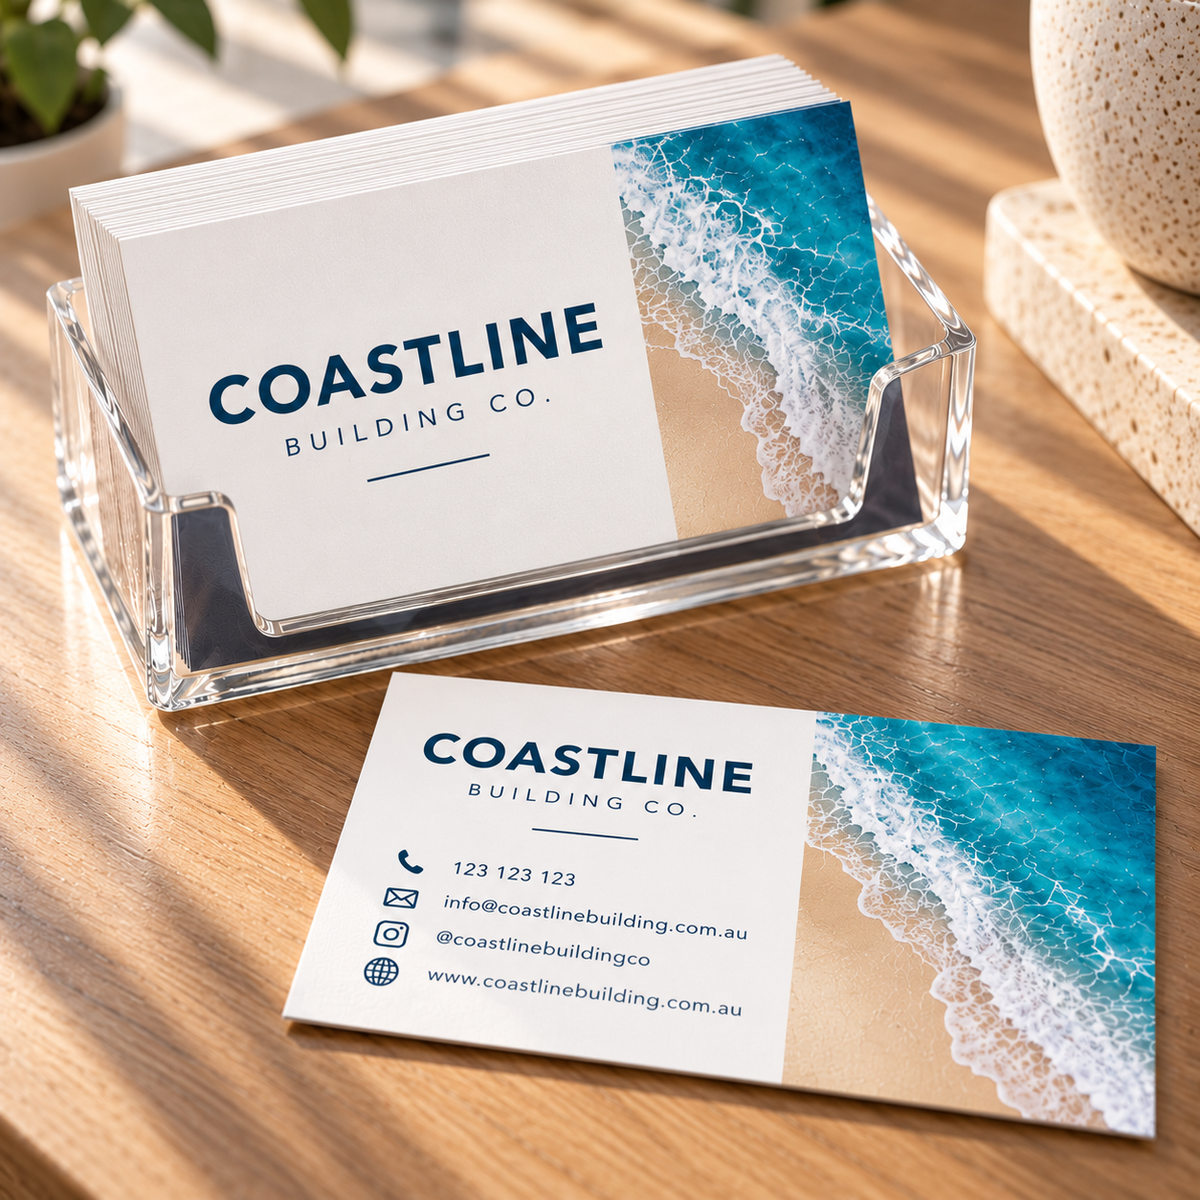
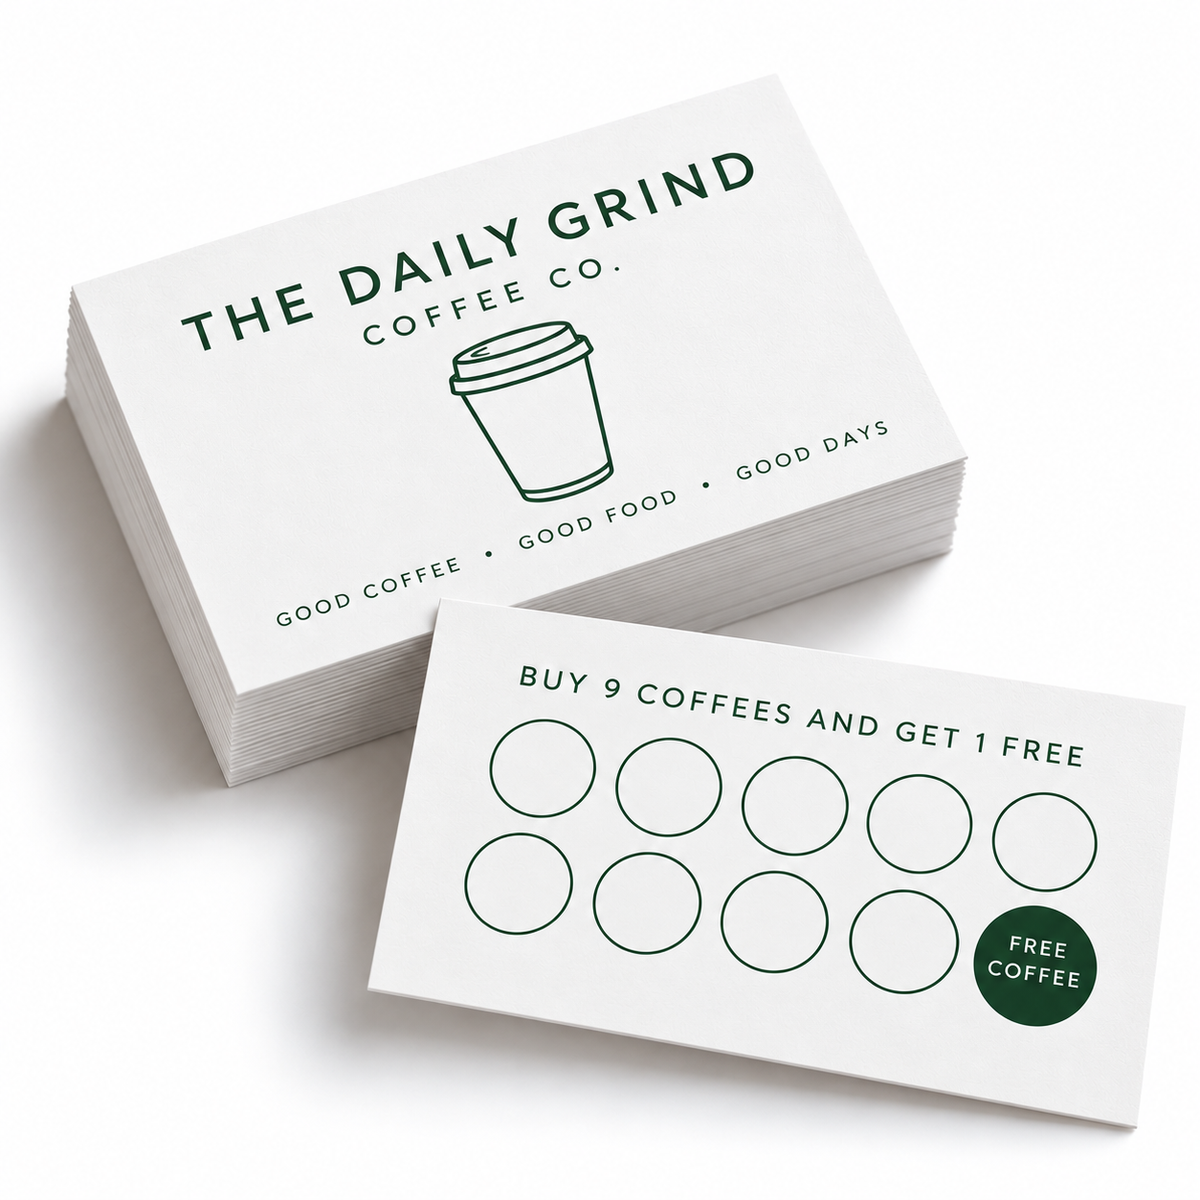
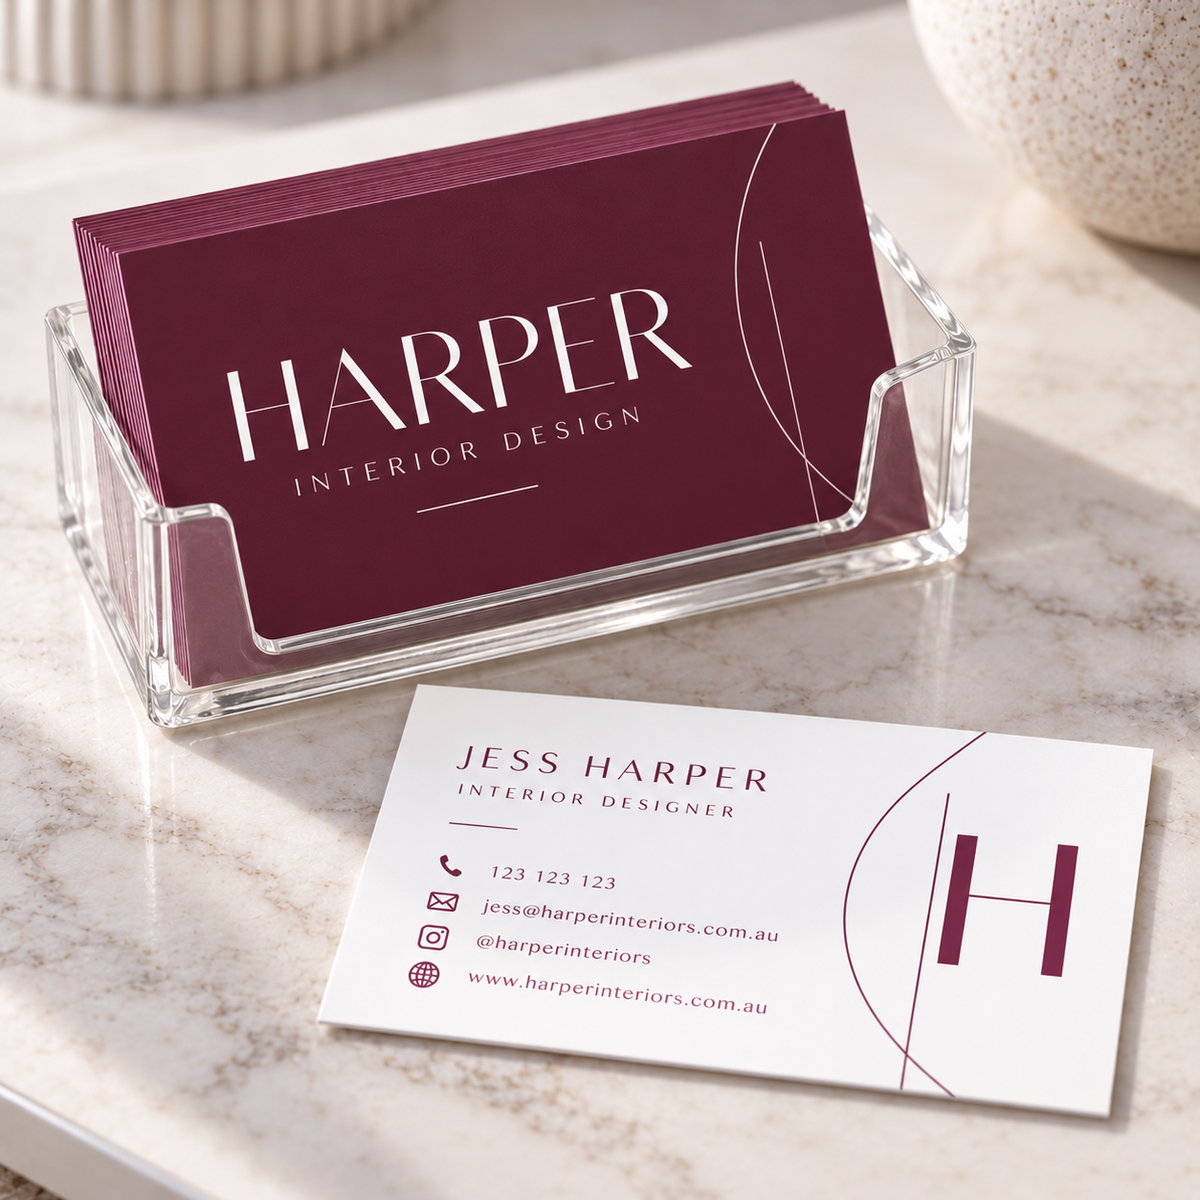
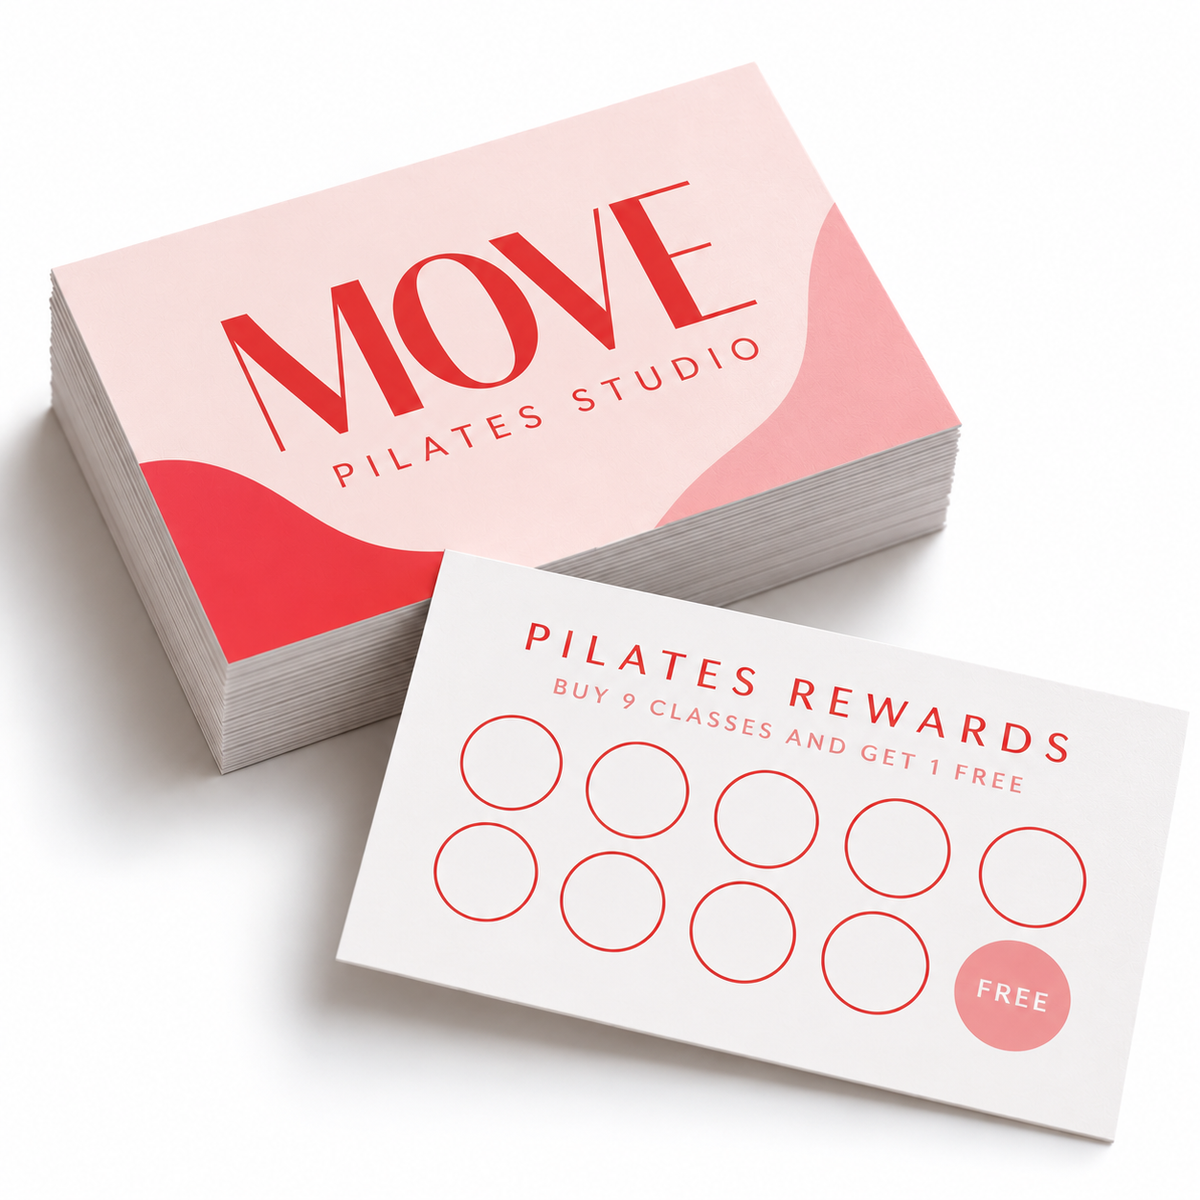
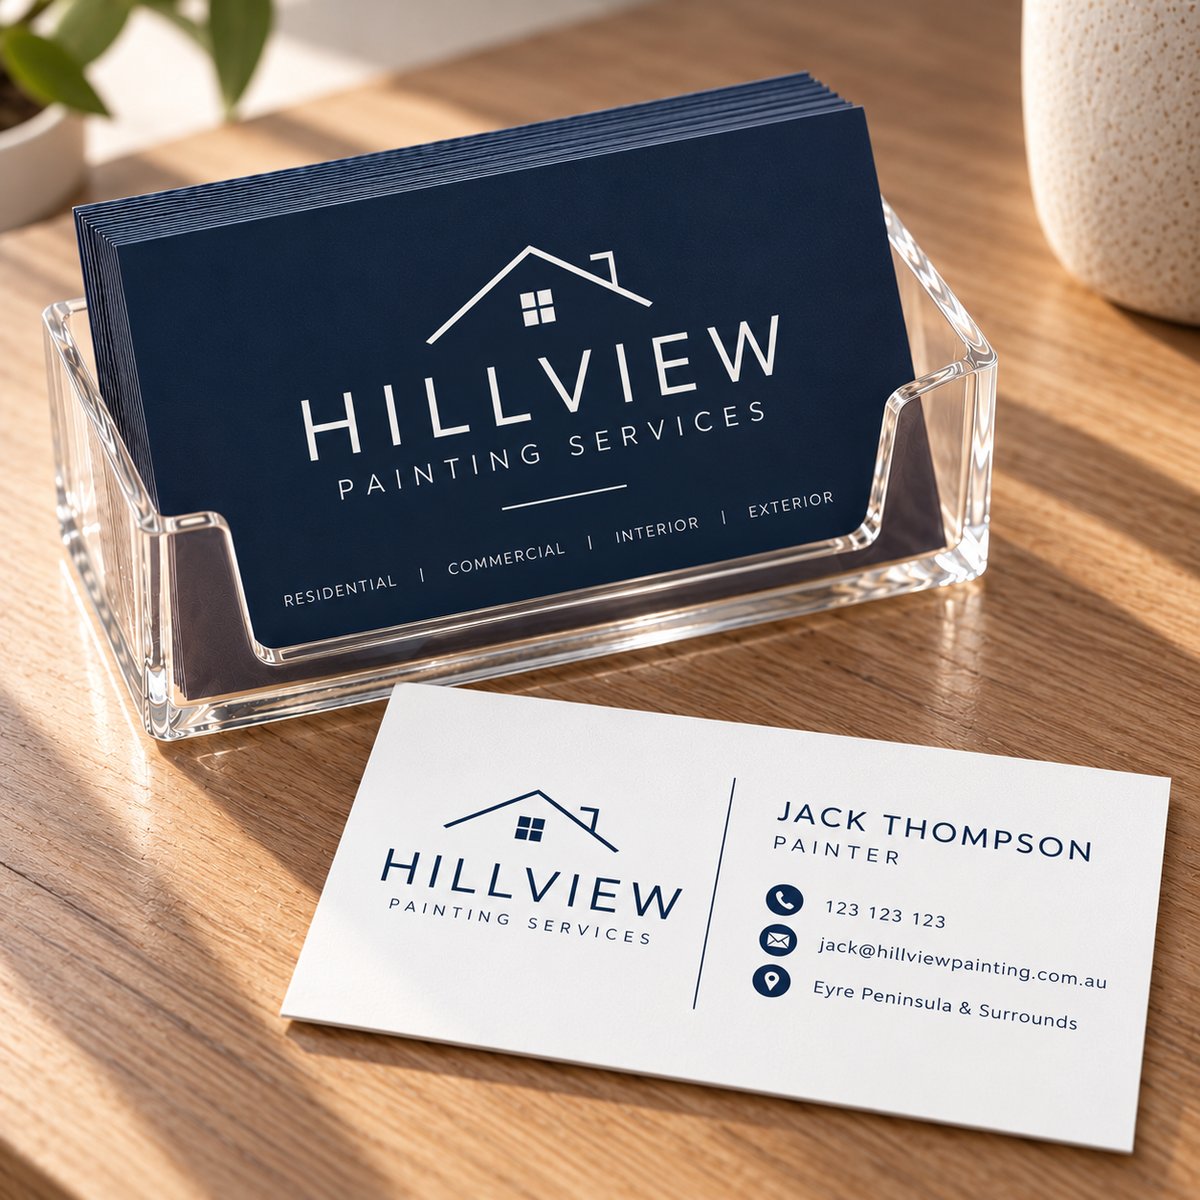
Business and Loyalty Cards
Sleek and durable Business and Loyalty cards . The essential tools for making lasting impressions and building customer loyalty.
Stock: 420gsm Artboard
1Your artwork
Pick a design and fill in your details. We’ll email you a PDF proof within 3 working days and make any changes before printing.
Choose a template
Your details
We create 2–3 concept designs for you to choose from, then finish your pick print-ready with bleed. Your PDF proof arrives within 2 working days of choosing a concept, with 2 rounds of changes included (further changes are charged at our hourly rate). Please check the spelling on your proof carefully, as we don’t spell-check. Printing starts once you approve the proof.
PDF 96 x 61 mm incl. 3mm bleed · max 20MB
Logo, photo or images optional · PDF, PNG or JPG · max 20MB
300 DPI minimum, set up in CMYK, text and logos at least 3mm inside the trim edge, no trim or registration marks.
2Choose your options
420gsm artboard, finished size 90 x 55 mm.
Printing
Single-sided templates are greyed out for double-sided cards.
3Check and add to cart
File check
Before printing we check your file’s size, bleed, resolution and colour setup, and contact you if anything needs fixing. Spelling and wording aren’t checked.
Tumby Bay Print does not check files for spelling, image quality, sizing or bleed. Reprints caused by the supplied file will be charged.
Choose options
Before you upload
Getting your file ready
Business cards print right to the edge, so there are a few extra steps. Four quick checks and your cards will come out just the way you pictured them. Not sure about something? Ask us and we'll gladly take a look.
Make sure your file is 96 × 61 mm
This is the size before we trim it to the finished size of 90 × 55 mm. The extra 3mm on every side is called bleed. Stretch your background right to the edge of your file, so no white line shows after trimming. Doing a portrait card? Make it 61 × 96 mm instead.
Keep text and logos inside the safe zone
Keep names, logos and phone numbers at least 3mm in from the trim line. Cards are cut by machine and a tiny bit of movement is normal, so this stops anything important getting clipped.
Use sharp images and CMYK colour
Aim for 300 dpi at the size the picture will print, so small text and logos stay crisp. Set your file up in CMYK. Very bright blues, greens and neons usually print a touch calmer than on your screen.
Upload a PDF or PNG
A PDF is best, or a PNG, up to 20MB. Choose “Save as PDF” in Canva or your design program, with your fonts embedded. Leave off any crop or trim marks, or they'll print on your cards.
Start from a free Canva template
Already set to 96 × 61 mm with the bleed included, so you just add your design and save as a PDF.
Printing both sides? Put the front on page 1 and the back on page 2 of your PDF. No artwork yet? Choose “Design it for me” in step 1, or use one of the free Canva templates above. Need a hand? Contact the TB Print team.
Quick answers
Common questions
Can't see your question? Call us on 08 8688 2115 or send us a message.
What is bleed, and why do I need it?
Bleed is 3mm of extra background that runs past the edge of your card. Because cards are cut by machine, it makes sure there's no thin white line at the edge. Your file should be 96 × 61 mm, which is the 90 × 55 mm finished card plus 3mm on every side. Keep your text and logos at least 3mm inside the trim line.
Can you check my file before printing?
Yes. Choose “Check my file” in step 3 and we'll check your file's size, bleed, resolution and colour setup before printing, and contact you if anything needs fixing. We don't check spelling or wording. If you skip the check, your cards are printed exactly as supplied, and a reprint caused by something in the file is charged.
I don't have a design yet. Where do I start?
We have free Canva templates for landscape and portrait cards in “Getting your file ready” above. Open one, add your details and download it as a PDF, then upload it in step 1. There are step-by-step instructions in the next question. Please check your spelling carefully before you order, as we print exactly what you send.
How do I use your free Canva templates?
The templates are already set to the right size with the 3mm bleed included, so you just add your design.
- Click Landscape template or Portrait template in “Getting your file ready” above.
- Click Use template in Canva. You'll need to log in or create a free Canva account. This saves your own copy to your Canva account, so you can come back to it any time.
- Click the box of TB Print instructions on the front page and delete it.
- Add your details. Run backgrounds right to the edge of the page, and keep names, logos and phone numbers at least 6mm in from the edge.
- Page 1 is the front and page 2 is the back. Printing single-sided? Delete page 2.
- Click Share, then Download, and choose PDF Print. Leave “Crop marks and bleed” unticked, then click Download.
- Upload your PDF in step 1 at the top of this page.
Can I print on both sides?
Yes, choose “Double-sided” in step 2. Put the front on page 1 and the back on page 2 of your PDF, and give both pages the same 96 × 61 mm size with bleed.
How will my cards get to me?
All orders are printed and sent from our shop in Tumby Bay with Australia Post, Australia wide. Orders placed on weekends and public holidays are processed on the next working day. We don't offer weekend or next-day delivery.